

Build a form
Forms are reusable, versioned building blocks. You design one in the Forms library at the organization level, then bind it to a user task.
-
Create the form. Go to Forms (in the organization sidebar) and click New Form. Give it a name, keep the visibility as Organization, and the Designer opens.
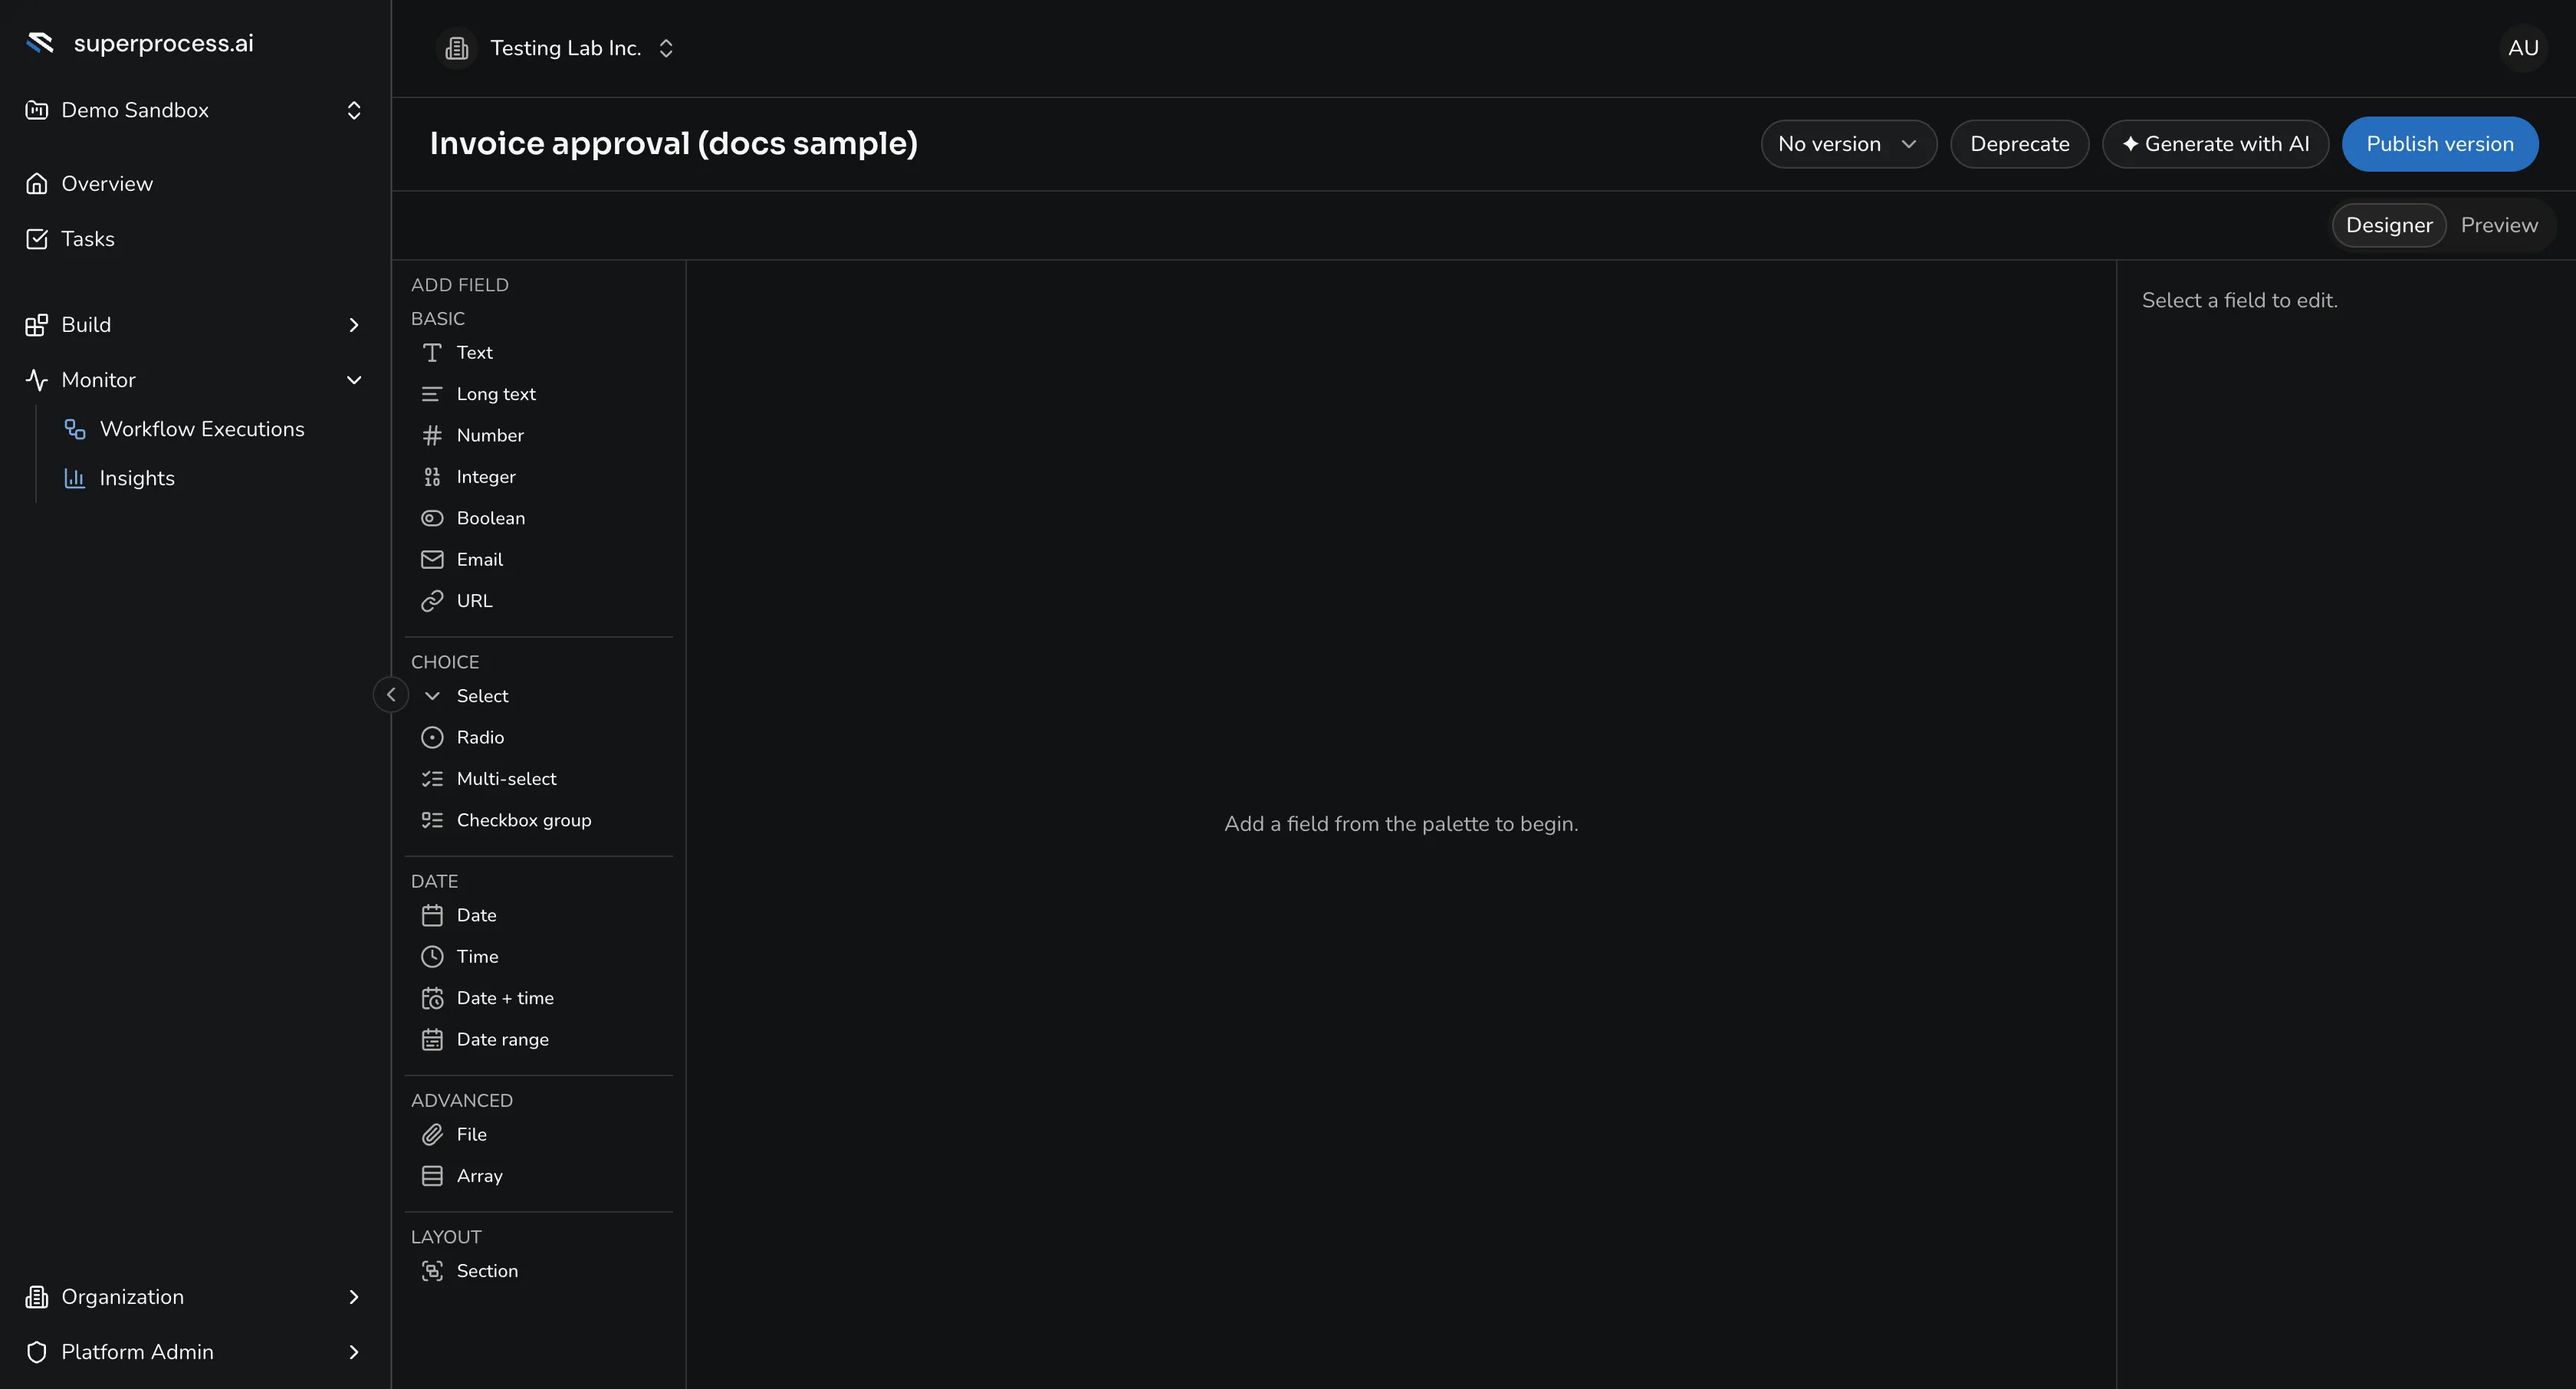
The form builder — add fields from the palette, edit each one, and preview. -
Add fields. From the Add Field palette, drop in the inputs you need:
- Basic — Text, Long text, Number, Integer, Boolean, Email, URL.
- Choice — Select, Radio, Multi-select, Checkbox group (each with a list of options).
- Date — Date, Time, Date + time, Date range.
- Advanced — File uploads, and Array (a repeating group of sub-fields — line items and the like).
- Layout — Section, to group fields under a heading.
-
Configure each field. Select a field to set its name, label, help text, and whether it’s required, plus any validation (min/max length or value, a pattern, min/max items, accepted file types).
-
Add dynamic behaviour (optional). A field can show only when a condition holds, become required conditionally, compute its own value, or validate itself — expressed in FEEL. For an Array field, allow row editing so people can add and remove rows (bounded by a min and max).
-
Define the actions. Set the buttons the person will see when completing the task — each has a label and a style (primary / secondary / destructive) and can require confirmation. These become the task’s completion actions (Approve, Reject, Request info…).
-
Preview. Switch to the Preview tab and fill the form as an end user would, to check the validation and conditional logic behave.
-
Publish a version. Click Publish version — pick a version bump and note what changed. A process binds a published version, so your edits don’t change a live task until you publish again.