

Designing the process
The Process Designer is a drag-and-drop canvas. You build a flow chart of how work should move through your business. Superprocess uses BPMN 2.0 — a standard visual notation business analysts have used for years — so if you’ve drawn a flow chart before, you already know most of this.
Start with an empty canvas
Section titled “Start with an empty canvas”The palette on the left holds every element you can drop on the canvas. The five we need for the invoice flow are:
- Start event — what kicks the process off (here: an email arriving)
- Service task — an automated step (here: the AI agent doing extraction)
- Exclusive gateway — a branching decision (here: auto-approve or human review?)
- User task — a step that needs a person (here: the approval)
- End event — the process finishes
Place the start event
Section titled “Place the start event”Drag the Start Event circle onto the canvas and click it. In the side panel, set the start event’s type to Message — the trigger for inbound work such as an email or a webhook. Point it at the source that delivers the invoice (a mailbox like invoices@yourcompany.com, or a webhook), and the process starts when a matching message arrives.
That’s it for the first step. When a PDF arrives, the process starts.
Drop in the AI task
Section titled “Drop in the AI task”Drag a Service Task onto the canvas and connect it to the Start Event with an arrow. In the side panel, choose AI agent as the task type. We’ll configure which agent this is on the next page.
Add the gateway
Section titled “Add the gateway”Gateways are how a process makes decisions. Drop an Exclusive Gateway after the AI task. Connect two outgoing arrows from it. On each arrow set a condition expression:
- Auto-approve branch:
amount < 10000 && po_matched == true - Human review branch:
default(the catch-all)
The process will follow whichever arrow’s condition is true.
Add the human task and end event
Section titled “Add the human task and end event”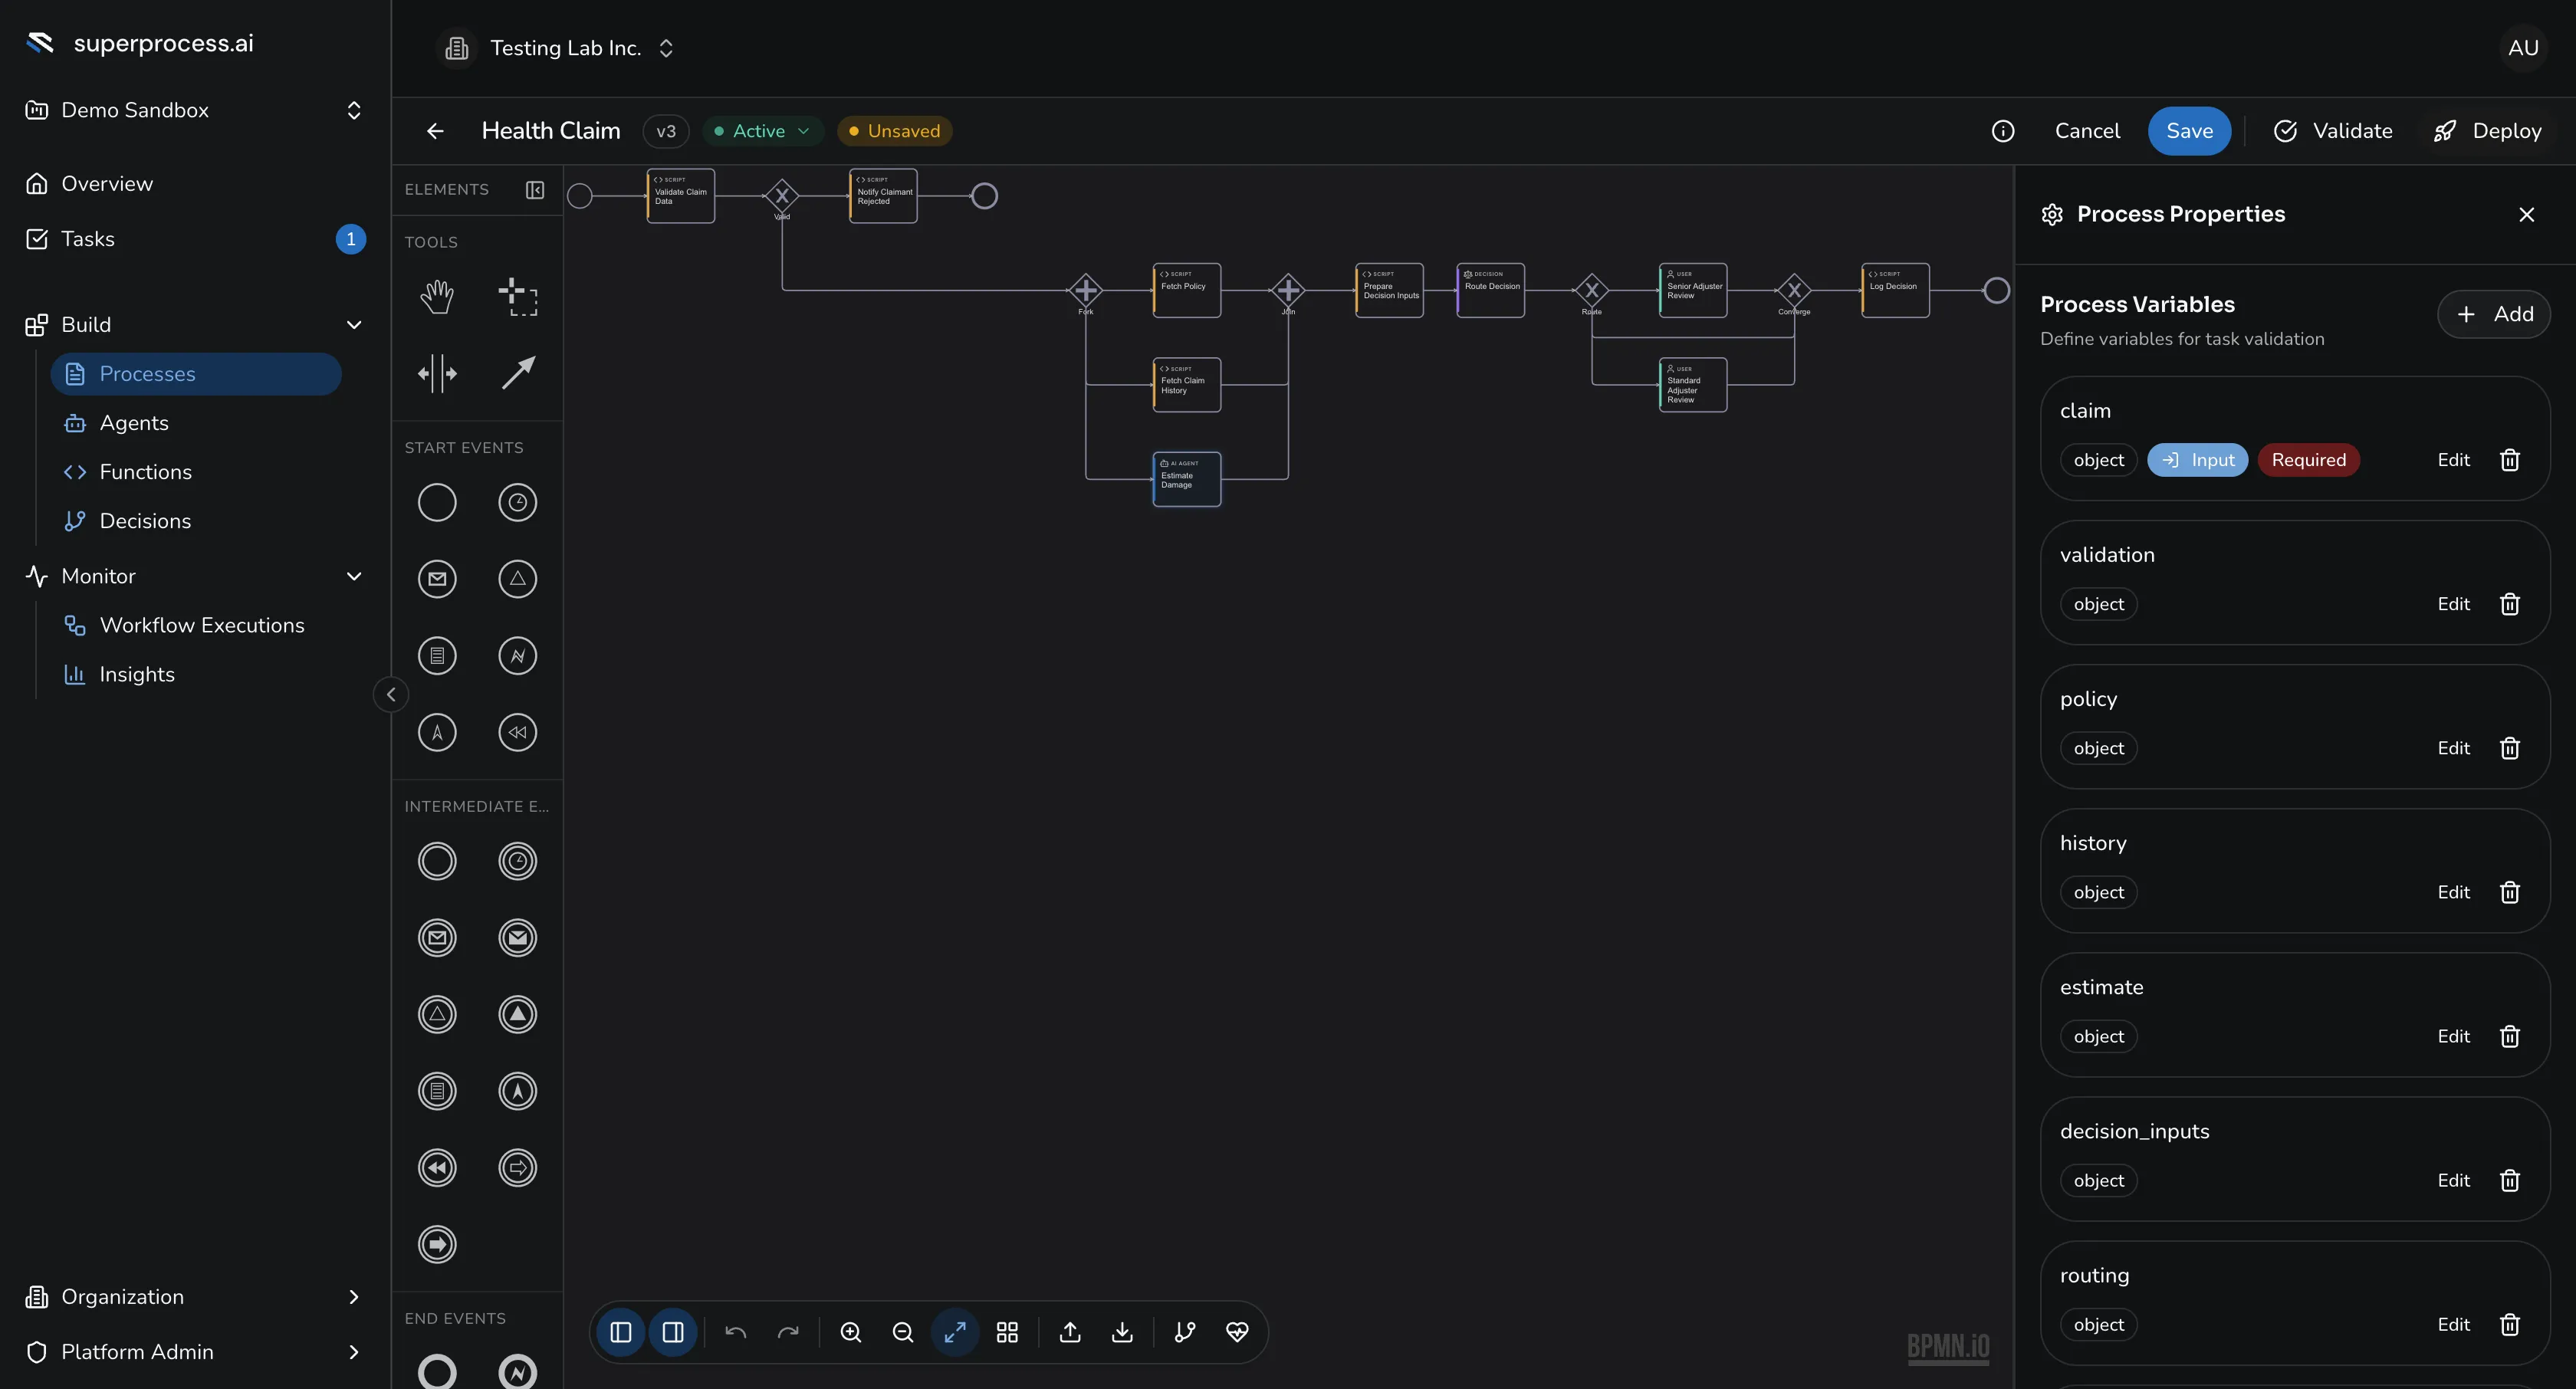
Drop a User Task on the human-review branch and label it “Approve invoice.” Two things to set on it:
- A form — the fields the approver sees and fills in (the amount, an approve/reject outcome, a note). Attach one from the forms library, or build it inline.
- An assignee group and assignment strategy — which group of people can work the task, and how it’s handed out (offer-and-claim by default, or round-robin / least-loaded to balance load).
Then drop an End Event at the end of each branch, connect everything with arrows, and you’re done.